Support for Midland BTR1 Advanced Intercom
Here you will find the video and the software to upgrade your device
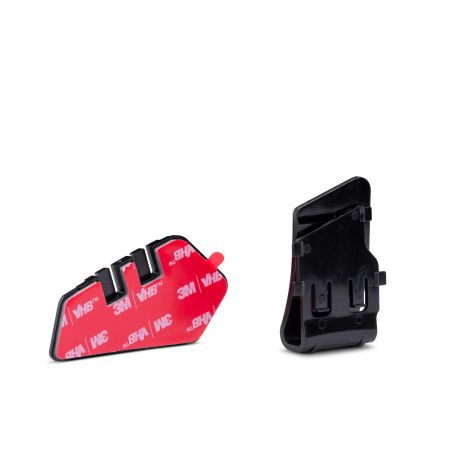
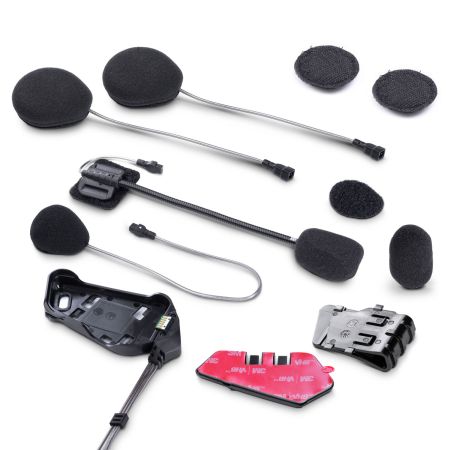
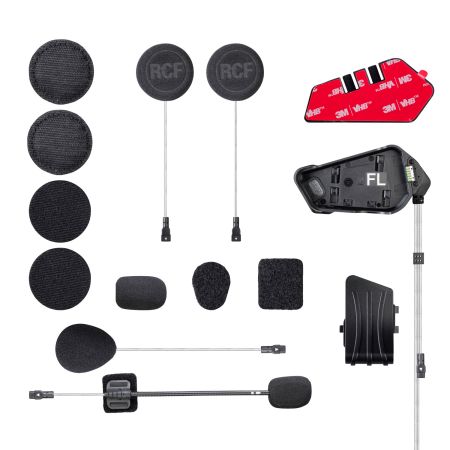
Guide on how to mount the device on the helmet
3.3 MB
Here you will find the video and the software to upgrade your device
Download the software to upgrade your device for Windows computers
82.0 MB
Download the software to upgrade your device for MacOS computers
681.0 kB
Here you will find the app to configure and use your device
Here you will find the answers to the most frequently asked questions about your device
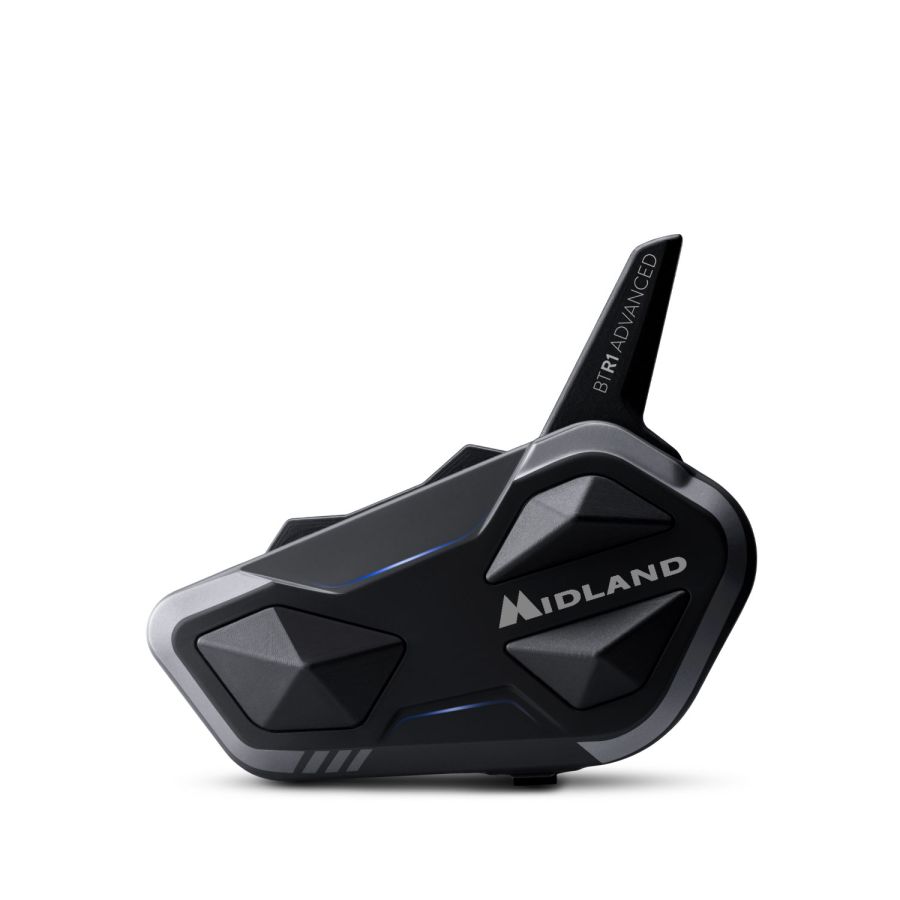
Connecting your BTR1 ADVANCED is easy! Follow these steps:
1. Prepare the intercom:
- With the intercom turned off, press and hold the Control button (the large button on the left) for 7 seconds.
- The intercom lights will turn solid red.
2. Activate pairing mode:
- Press the Volume + button for three seconds.
- The lights will flash red and blue.
3. Connect the device:
- On your phone, motorcycle screen, or navigator, go to Bluetooth settings and look for "BTR1 ADVANCED."
- Click to connect and enter the code 0000 if prompted.
- The blue light will flash to confirm the connection.
4. Done! Your intercom is ready to use.
Helpful tips:
- If you have a motorcycle screen, first connect the phone to the screen, then connect the intercom to the screen. IMPORTANT: In this setup, the phone and intercom should not be connected directly to each other.
- To connect a GPS navigator (mono audio), repeat the same steps, but use the Volume - button.
With your BTR1 ADVANCED you can connect:
- Up to 4 intercoms: You can communicate with other motorcyclists who use Midland, OBI, or other brands of intercoms.
- Up to 2 Bluetooth devices: You can connect your phone, your motorcycle screen (TFT), or a GPS navigator.
Important:
- If you connect a new Bluetooth device, it will replace the previously connected one. So, be careful which devices you connect.
- If you have a GPS navigator, it is advisable to connect it as a second Bluetooth device, so you can continue to use your phone for calls and music.
- To connect a second Bluetooth device, such as a GPS navigator, you will need to use the volume "-" button, and the connection will be in mono audio.
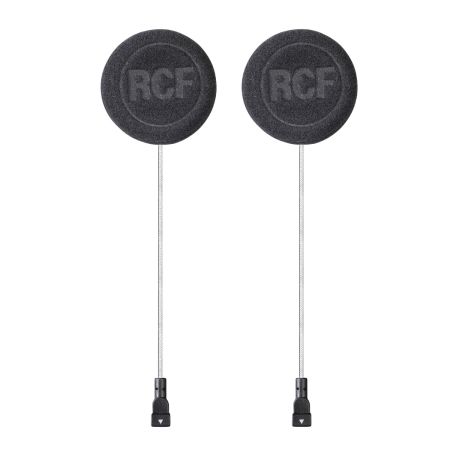
If the audio seems low or unbalanced, your helmet speakers are likely not positioned correctly. Here's what you can do:
- Check the speaker position: Remove your helmet and verify that the speakers are well-aligned with your ears.
- Do a test: Remove the speakers from the helmet and place them directly on your ears. Do you hear a difference? If the sound improves, the problem is with the mounting. Make sure the speakers are positioned correctly to get the best audio quality!
- Download the BTUpdater software and update the device; you will find all the instructions in point 5 of these FAQs.
- During the update process, simply select the desired language.
To activate the voice assistant, there must be no active audio.
- If your BTR1 ADVANCED is in Phone mode, then press the up button once.
- If your BTR1 ADVANCED is in Intercom mode, then press the up button twice.
- If your BTR1 ADVANCED is in FM Radio mode, then pause the radio and press the up button once.
If you have a second phone paired to the Volume - button, you can activate the voice assistant by following the previous instructions using the Down button.
The BTR1 Advanced offers several options for managing calls, ensuring flexibility and safety while riding.
Answering and ending a call:
- In any operating mode (Intercom, Phone, FM Radio), you can answer an incoming call by pressing any button on the intercom once.
- Similarly, to end an ongoing call, press any button once.
Rejecting a call:
- To reject an incoming call, press and hold any button on the intercom for three seconds.
Voice answer (VOX):
- If the VOX function is active, you can answer an incoming call simply by speaking a word aloud.
- This function is particularly useful for keeping your hands on the handlebars and focusing on riding.
Yes, the BTR1 Advanced is equipped with the "Parallel Audio" function, which allows you to simultaneously listen to music or GPS instructions while you are communicating via intercom. This feature offers a more complete and enjoyable riding experience.
How it works:
1 Parallel Audio:
- The "Parallel Audio" function is always active on the BTR1 Advanced, allowing you to overlap the intercom audio with that of other audio sources.
- This means you can listen to your favorite music or GPS navigation instructions while talking to your passenger or other motorcyclists via the intercom.
2 Updates:
If you experience problems with this function, make sure you have updated your BTR1 Advanced to the latest firmware version available online. Updates often include improvements and bug fixes.
Notes on device compatibility:
- Navigation apps:
a) Navigation apps can be listened to in the background if the phone is paired to the "Volume +" button (primary pairing).
- Garmin ZUMO XT/XT2:
a) The Garmin ZUMO XT/XT2 can be listened to in the background if paired to the "Volume -" button (secondary pairing).
b) Make sure the "Background Active" function is enabled on the intercom (it should be active by default).
TomTom Rider 550:
a) The TomTom Rider 550 must be paired to the "Volume +" button (primary pairing) and set to Stereo Audio (A2DP) mode.
The Music Share function allows you to share the music you are listening to with your passenger, to make the journey even more enjoyable. Here's how to activate it:
- Select your favorite music app on your phone.
- Start the intercom with your passenger.
- Press and hold the Down button for three seconds. You will hear a notification confirming the activation of the Music Share function.
While sharing music, it is not possible to talk to the passenger.
Absolutely yes! The BTR1 ADVANCED is perfectly waterproof, so you can use it in all weather conditions; therefore, you won't have to worry about rain during your trips.
Additional information:
- Although the BTR1 Advanced is waterproof, it is advisable to avoid prolonged immersion in water.
- It is always recommended to check the seals and ensure that all covers are tightly closed before exposing yourself to adverse weather conditions.
Here you will find the manuals and software to configure and use your device
Here you will find the instructions for correctly disposing of the packaging of your device
- Packaging
- PAP 20: paper
- Inner boxes/dividers
- PAP 21: paper
- Internal envelopes
- LDPE 4: plastic
- protective film
- HDPE 2: plastic
- Box Hanger
- LDPE 4: plastic
- sponge
- HDPE 2: plastic
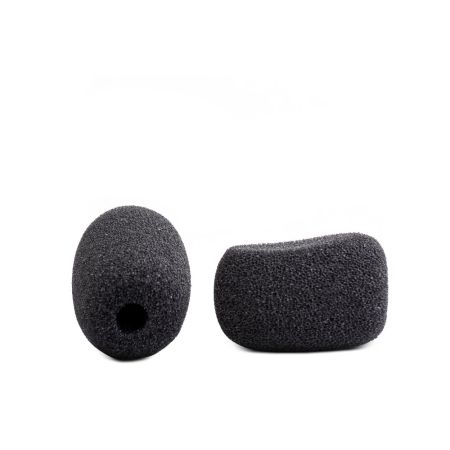
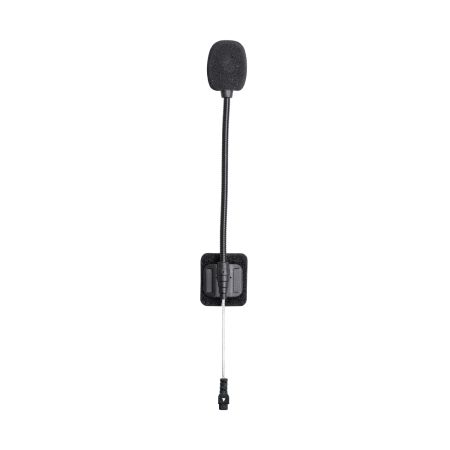
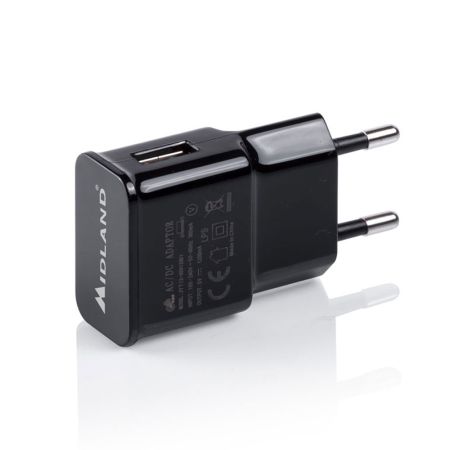
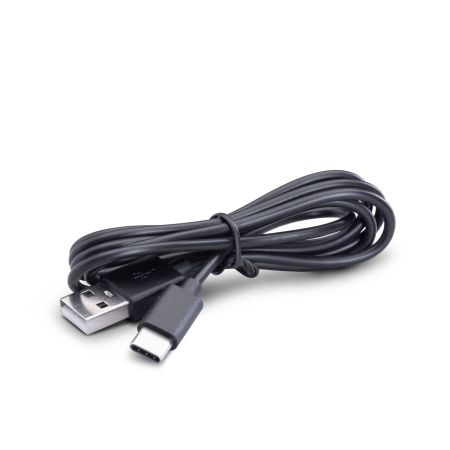
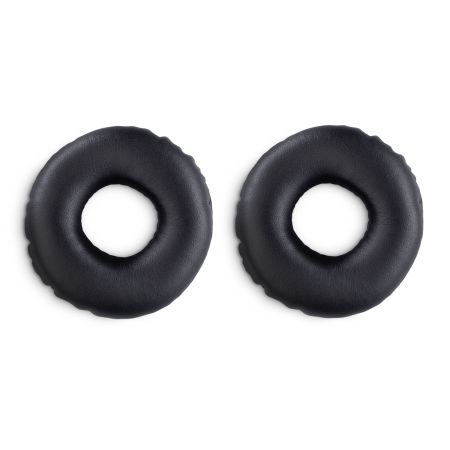
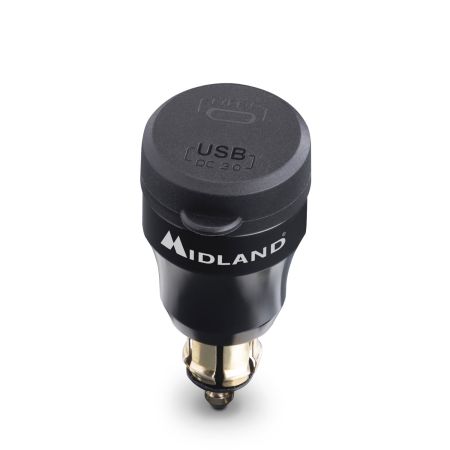
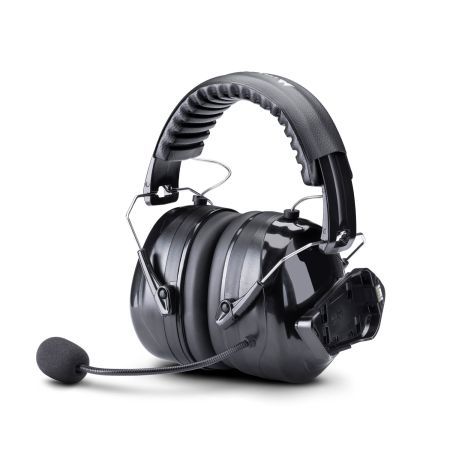
Here you will find the accessories and spare parts for your device